Project Chop Shop Cycles
Custom Brake Lever with Master-cylinder
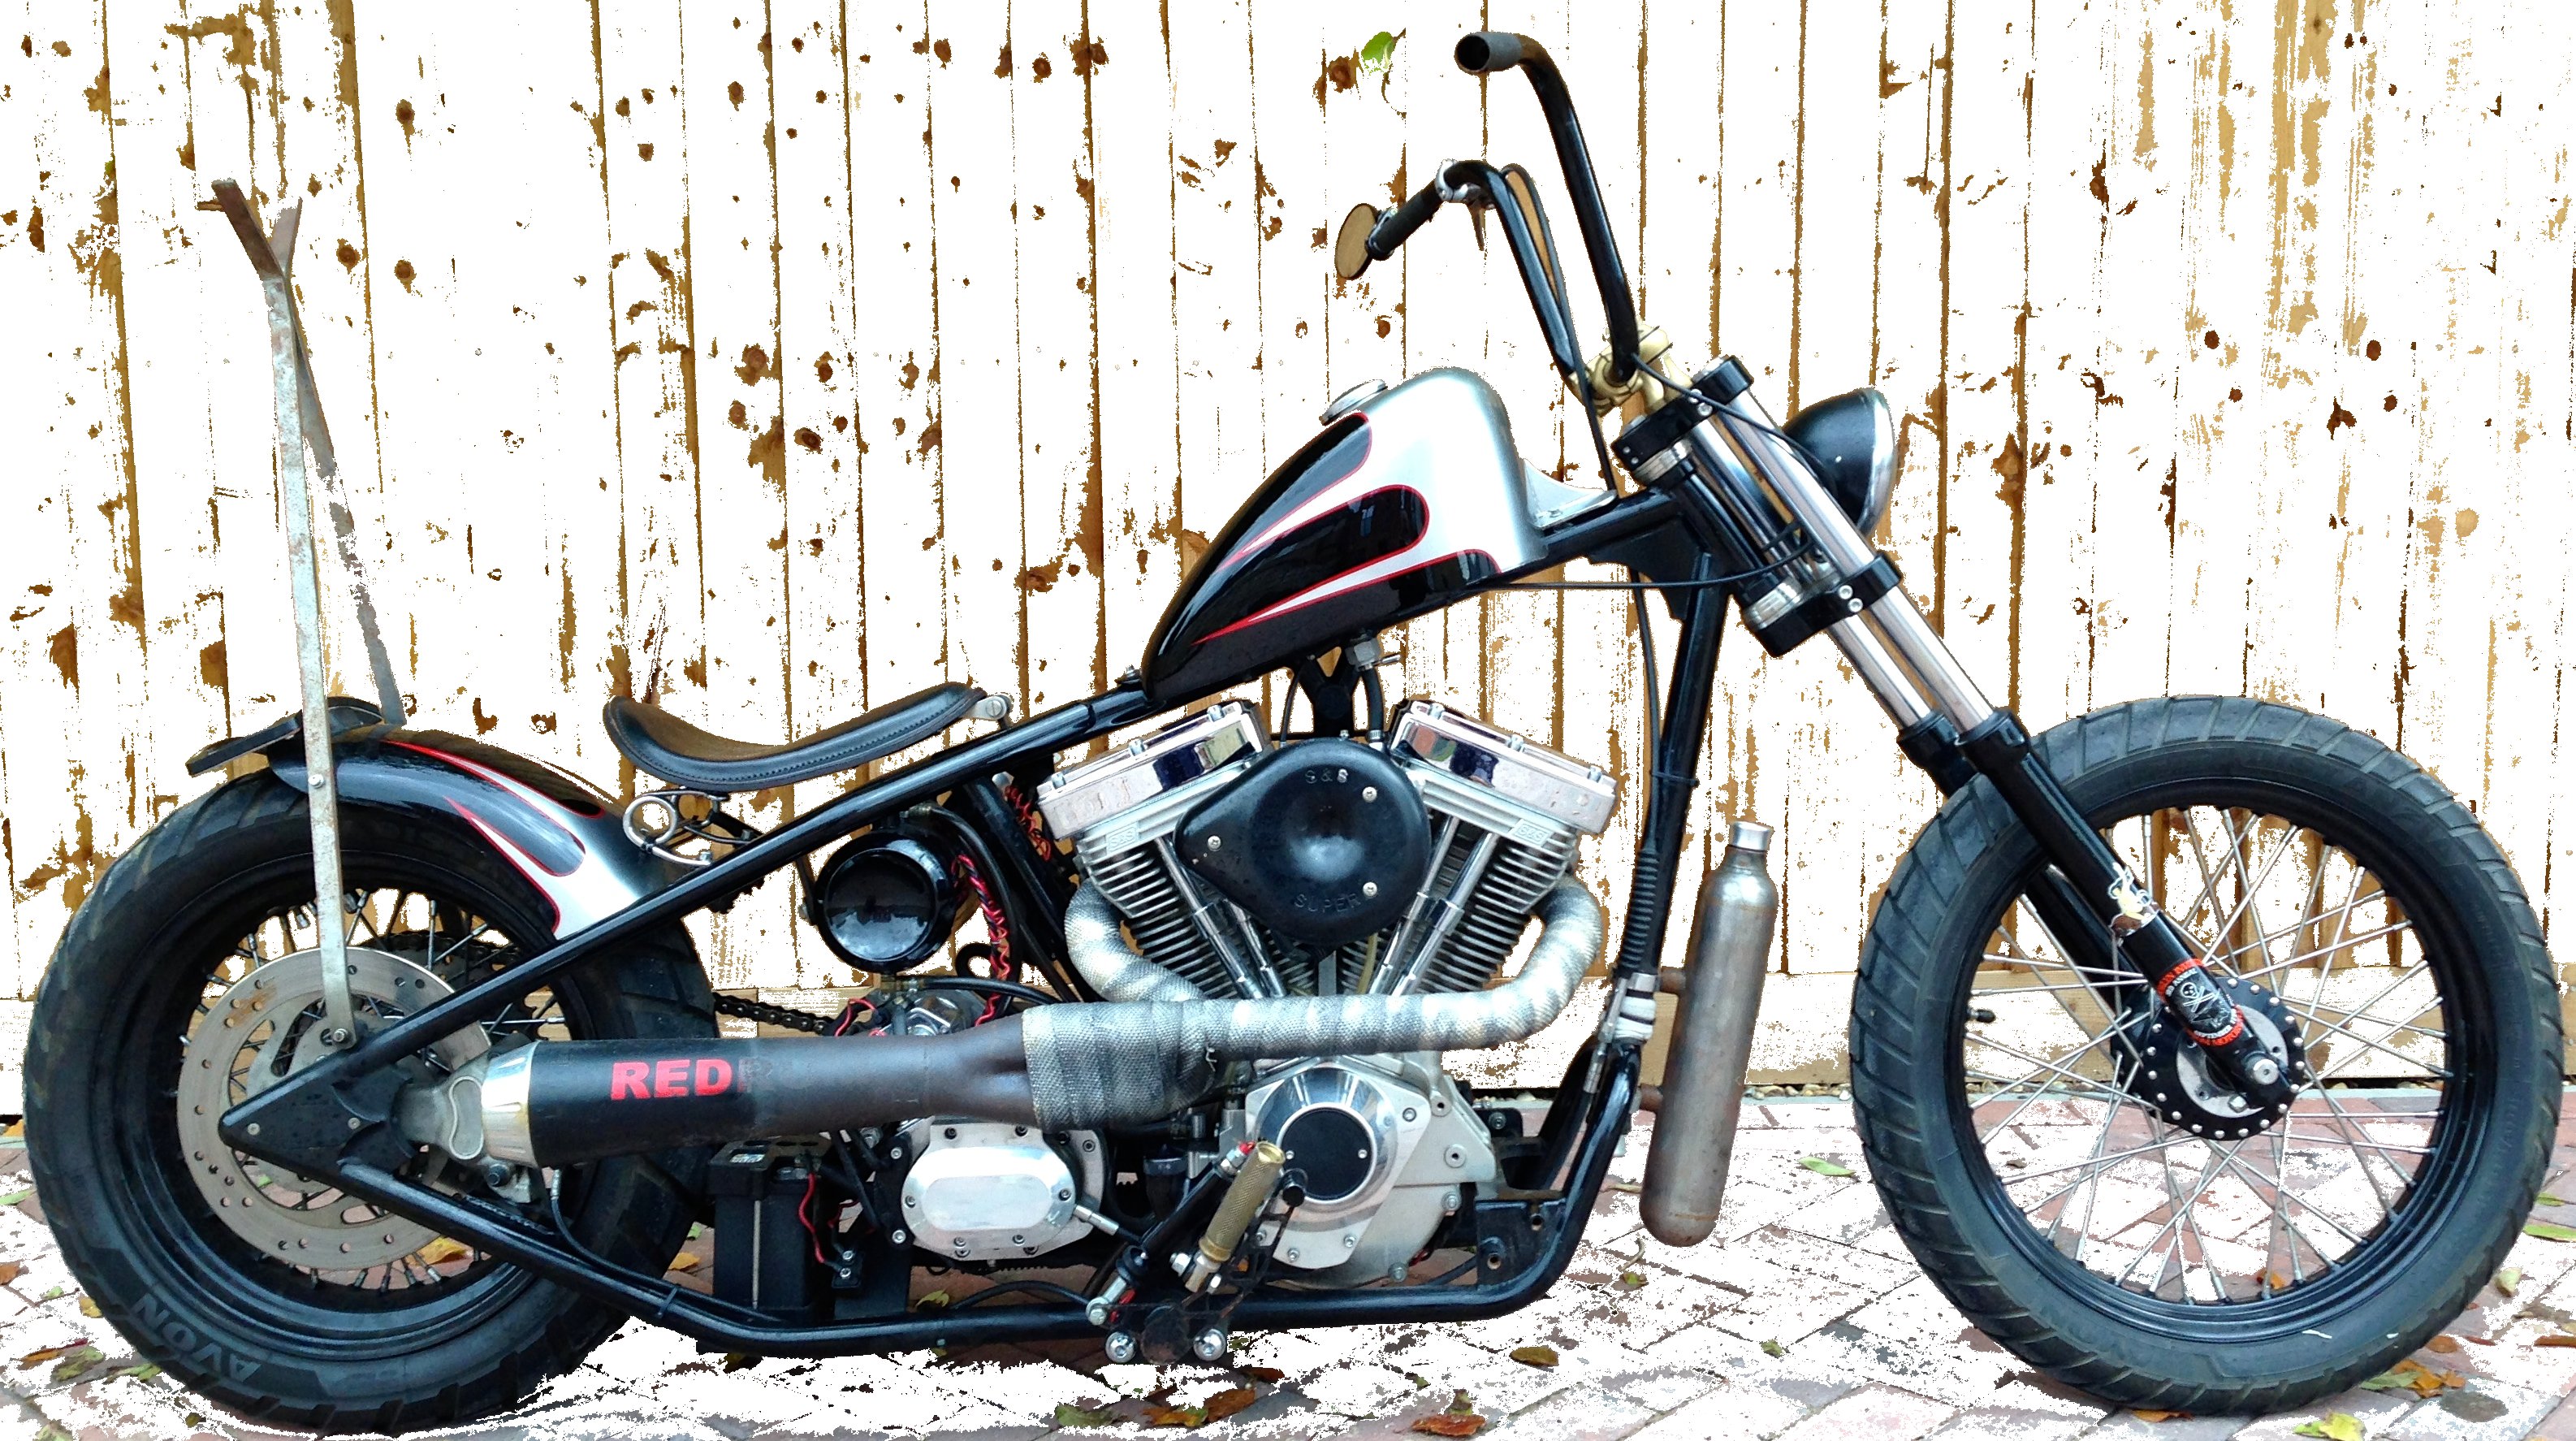
Of course we could have just bought a nice $400 PM system to put onto Mr. D’s bike …… but that would have been to easy, to expensive and to ‘off-the-shelve’. We ended up buying a cheap, grimy and nasty second hand lever at the junkyard. In this case a Nissin set-up from a Yamaha. After taking it apart, we sandblasted it, and bought a refurbishment kit in order to replace seals and dustcover.
The thing we still didn’t like about it was the huge master cylinder. Not Chop-Worthy. So we gave it ‘the treatment’, just like many other builders have done…..
These are the steps to be taken:
1. Remove and discard the butt-ugly reservoir.
2. Remove the stem (part 13159), which is L shaped in case of a Nissin, and cut at the elbow.
3. Install the stem, don’t forget the O-ring (which we did the first time around), but not the dustcover (part 49016a).
4. Shove a piece of clear plastic tubing on the stem, a lot longer then you will eventually need (but which makes bleeding easier).
5. Secure the tube with something pretty, and not the zip tie we used in these pictures.
6. Fill the tube and bleed the system.
7. Cut the tube at the desired length and screw a nice bolt (we put one in the lathe and customized it to look nice) with thread to seal it*.
* The treads allow air and fluid to escape, while keeping rain out. Perfect solution.
The end-result is a fine looking custom set-up without the clutter of the bulky master cylinder. The handle even came with a brake light indicator switch, so for registration purposes, that’s perfect!
Custom Brembo Brake Caliper
The same reasoning applied to the brake-lever was the case here: why buy a $400 + PM caliper, when you can customize one yourself. We bought a $22 Brembo at the junkyard. As nasty has the brake-lever was. But you can’t heat the price, nor the quality. There is a reason Brembo’s are used on high end sports cars and guys like Indian Larry used them on his Chops. It took some hours soaking, followed by blasting to clean it up. Sourcing the refurb kit turned out to be hard. No readily available kits out there, so we scrounged a few place and got what we needed.
The bracket supplied with the 2 piston Brembo is vital. It allows for self-adjusting of the caliper based on the wear and tear of the brake-pads. So don’t chuck it, but make a bracket to fit the bracket …… if you know what we mean. The pistons press against a fixed opposite anker, so if the caliper wouldn’t be self adjusting, you will have a problem. Shoot us an email if we are not clear in our explanation and you want to try this yourself. When you make this bracket, don’t be stingy on the chunk of metal you use. It has to be gorilla-strong.
These pictures show the process from raw steel to the final fit. Note, we will replace the ugly bolts with nicer ones, but for mock-up they worked out fine.
Indicator Lights
Yes, we can always use hand signals to tell people when we are turning. And use a single finger signal if they don’t give us the right of way, hahaha. But popo (the police) has an issue with these antiquated methods and want to see turn signals. Also a registration requirement. So we installed a few micro-switches and got these really awesome indicator lights from MotoGadget (www.motogadget.com) which you can order from them directly or though motorcycle storehouse dealers (www.motorcyclestorehouse.nl). Not cheap ($40 a piece), but somuch better than large ugly plastic versions. Nice German engineering.
Routing wire through this handlebar with sharp angles larger than 90 degrees is an absolute pain in the ass!!! And then the wires had to be routed through the frame. Tank had to come off, seat as well. Looking at a bike you don’t always recognize the hours of work that go into these details, and only pick-up on the clean look. This is why.
Getting the bike to start…..
Starting the CSC
So what did we do to the bike after it arrived at El Lobo Cycles:
1) Installed a custom brake lever with master cylinder.
2) Installed a refurbished Brembo 2-piston caliper on a custom bracket.
3) Wired-up and installed a set of LED-indicators.
4) Drilled, routed and installed micro-switches for indicators.
5) Replaced battery, which meant removing the exhausts ….. so we swapped the gaskets for new ones.
6) Cleaned Carb (floater bowl, jets) and replaced gaskets.
7) Re-sprayed the pipes.
……. and then …….started the bike
And the bike past registration without a glitch. Mr. D took the bike for a 200 K ride, and it performed without any issues. The way we like it!


